Oreo Cheesecake
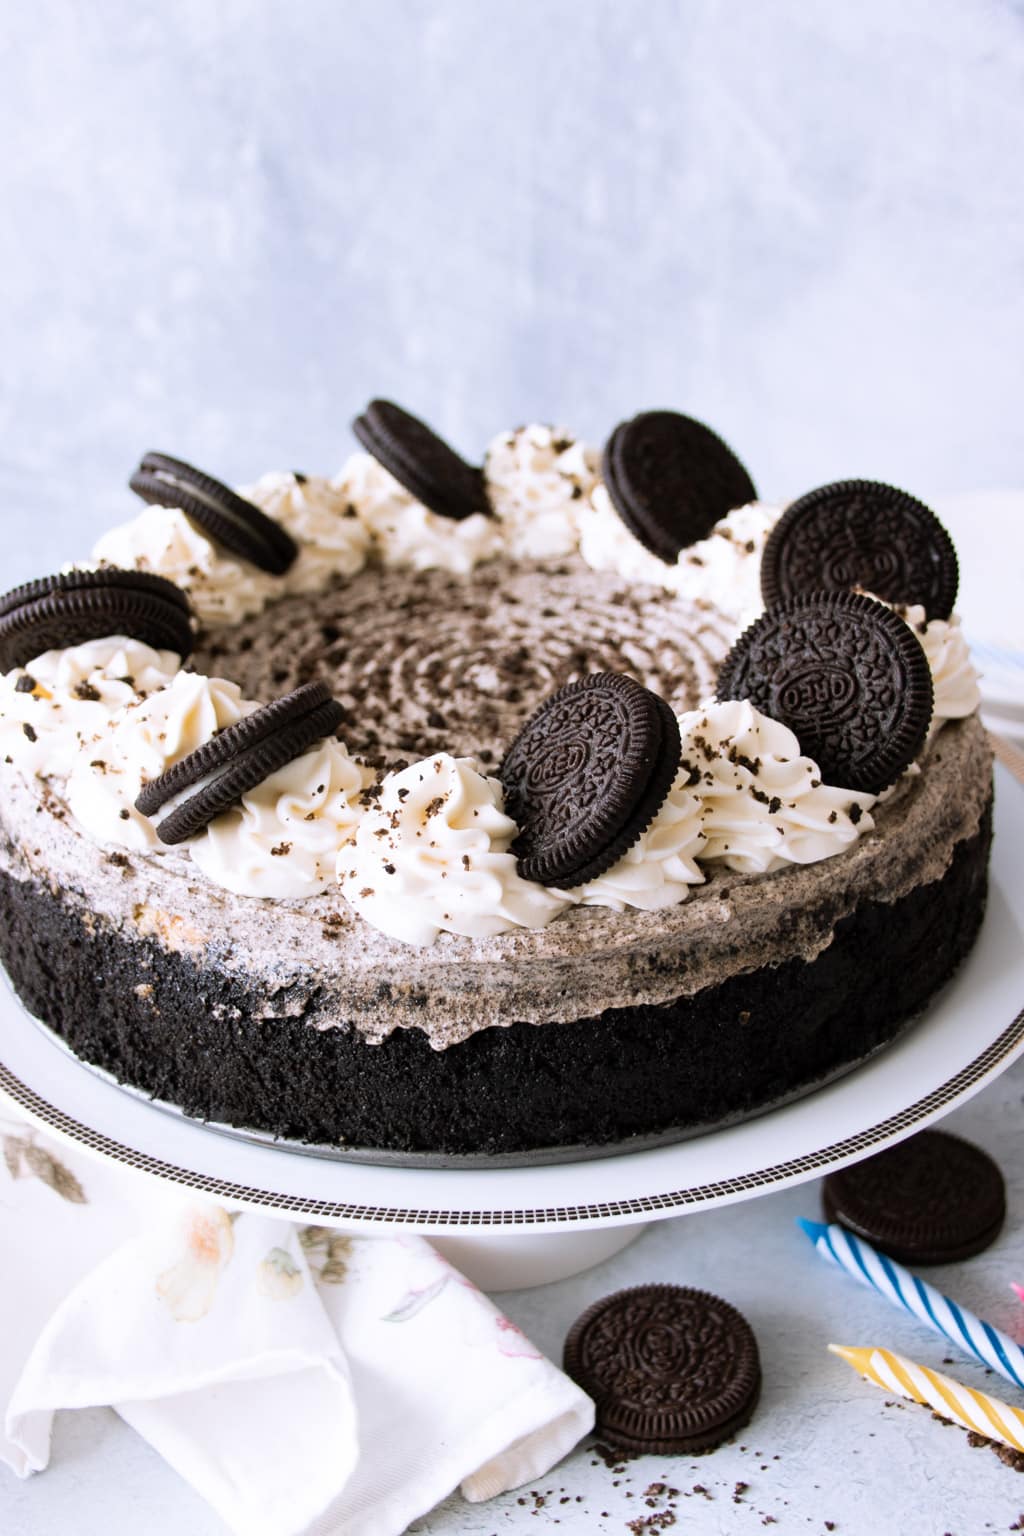
Rich and creamy Oreo cheesecake with a toasted Oreo cookie base and a rich and creamy cream cheese filling loaded with Oreo cookies. Oreo cream frosting and whipped vanilla cream swirls tops off this dreamy and delicious dessert!
Ingredients
For the cookie crust - Option 1:
- 35 Oreo cookies with filling crushed
- 70 g (5 tbsp) unsalted or salted butter, melted
For the cookie crust - Option 2:
- 300 g Oreo biscuits without filling or black vanilla biscuits crushed
- 100 g (7 tbsp) unsalted or salted butter, melted
For the cheesecake:
- 750 g (3⅓ cups) cream cheese, softened at room temperature
- 200 ml sour cream
- 150 g (¾ cup) caster sugar
- 1 tsp vanilla extract
- 3 large eggs
- 12 - 15 Oreo cookies quartered
For the frosting -Oreo whipped cream
- 360 g (1½ cups) heavy or whipping cream
- 100 g Oreo biscuits without filling or black vanilla biscuits, crushed
- 1 tsp vanilla extract
- ½ cup icing sugar
For the topping:
- 12 Oreo cookies
- Some crushed cookie crumbs
Instructions
Prepare the water bath:
- Place an oven rack for the cake in the middle of the oven. On another rack below it, place a shallow baking tray and fill two-thirds full with water. Preheat oven to 160°C (325°F). Grease the base and sides of a 23-cm (9-inch) springform pan.
Make the cookie crust:
- Crush Oreo cookies (with or without fillings) in a food processor until fine crumbs. Or you can stick cookies in a Ziploc bag, seal it, leaving just a small gap. Crush till fine with a rolling pin.
- Stir the cookie crumbs and melted butter with a fork. Pour out into the pan. Using the back of a metal spoon, press into the bottom and up the sides. Level the crust evenly. Bake for 8 - 10 minutes in the oven. Remove and set aside.
Make the cheesecake:
- In a stand mixer fitted with a paddle attachment, beat the softened cream cheese on medium speed until smooth, about 5 minutes. Scrape down the sides of the bowl once.
- Beat in the sugar for 1 minute until the cream cheese looks smooth and feels lighter.
- Tip in the sour cream and vanilla extract, and beat until well combined. Again, scrape down the sides of the bowl to get a uniform consistency.
- Add the eggs, one at a time, beating until well mixed before adding the next.
- Gently fold in the chopped Oreo cookies, until just incorporated. Gently pour into the prepared springform pan.
- Bake for 1 hour 15 minutes, or until the edges of the cake are quite set, and the centre 2 to 3 inches of the cake is only slightly jiggly.
- Important: Turn off the oven, leave the oven door slightly ajar, and let the cheesecake sit in the oven for an hour.
- Remove the cheesecake from the oven after this time, and let it to cool completely at room temperature. This may take 4 to 6 hours, depending on the environment. Run a knife round the edges of the cake, as the cake will pull away from the sides as it cools in the chiller.
- Chill the cheesecake:When completely cooled, wrap the cheesecake still in the pan, with several layers of cling wrap. Chill in the refrigerator for at least 12 hours or overnight, to allow it to firm up and set.
Make the Oreo whipped cream:
- In a stand mixer, combine heavy or whipping cream, vanilla extract and icing sugar. Whip on medium speed until the whisk starts to leave whisk lines in the cream. Lower the speed and whisk until stiff peaks form.
- Spoon out half the whipped cream for piping vanilla swirls. To the remaining half, gently fold in crushed Oreo cookie crumbs (without filling).
Frost the cheesecake:
- Gently remove the mould of the springform pan. Spread Oreo whipped cream (or chocolate ganache) over the top and smoothen with a spatula.
- Pipe plain whipped cream swirls as desired. Place Oreo cookies, and sprinkle crushed cookie crumbs. Put back in the chiller for about 15 minutes to set the cream (or ganache).
On the day you wish to serve the cheesecake:
- Take the cheesecake out of the chiller about 20 minutes before serving. To get clean slices, warm up the blade of a knife by dipping in hot water and wiping off with a paper towel.
- Slice all the way down to the cookie base, and use an offset spatula to help loosen the cookie base off the pan.
Notes
- Always start with ingredients brought to room temperature
- Beat the cream cheese and sugar until the mixture is smooth and lighter (but not fluffy). This should only take a few minutes at medium speed. The aim here is to beat just long enough to smoothen out the lumps in the cream cheese. The key is NOT to beat at vigorous speed or until fluffy, as trapping a lot of air in the mixture may later lead to shrinking, cracks or sunken tops.
- Keep mixer on medium speed at all times, or even at low speed if necessary, when incorporating eggs, sour cream, extracts, etc. Again, the aim here is just to beat until well combined, and not to introduce more air into the batter.
- When instructed to fold in ingredients, do so with gentle and light moves of the spatula, and only until just combined.
- Always bake at a low temperature (between 150 to 160°C (300 - 325°F) .
- Cheesecakes are custards which need to cook through gently and slowly, resulting in that fine, creamy texture. Higher temperatures may cook the custard too quickly and cause the eggs in the custard to curdle, resulting in a lumpy, ricotta cheese-like texture.
- Always bake in a water bath. The moisture from the water in the oven helps to keep your cheesecakes moist as it bakes. It can help prevent cracks or fissures from forming on the surface of the cheesecake, especially if you need to prolong baking time. A water bath also helps distribute the heat evenly throughout the oven, in case there are unusual 'hot' spots in areas of your oven.
- You can choose to wrap the outside of the springform pan with a layer of aluminum foil all around the sides. Although this is not necessary, I find that it helps to keep the sides from browning too quickly, should you need to bake the cake for much longer than anticipated.
- Do not open the oven door at all during baking. I know this one is tough! But do refrain from frequently opening the oven, even if it's just to take a peek to see if things are going well.
- Internal temperature test: Insert an instant-read food thermometer in a spot halfway between the centre and the edge of the cheesecake, i.e. just off-centre. The cake is done when its internal temperature reaches 65 deg C (150 deg F).
- Once this temperature is reached, turn off the oven. Let the cake cool in the oven with the oven door slightly ajar (use a wooden spoon to keep it ajar if necessary) for an hour. The cheesecake will continue to bake in the residual heat of the oven. If you have to take a temperature test more than once, insert into the same spot as before, as pricking holes unreservedly can lead to cracks and fissures.
- The jiggle test: When the edges of the cake are quite set, with the centre 2 to 3 inches only slightly jiggly, the cake is done baking. Bear in mind that the centre of the cake refers to a general area in the centre that's about one-third of the diameter or surface area of the cake, and does not refer to a a single spot.
- Do not bake until the centre sets, otherwise you will have over-baked the cheesecake. If the centre area still looks shiny and is quite liquid, continue to bake for longer, checking every 10 - 15 minutes, or less time in between, if it looks to be almost done.
- If your cheesecake is taking longer than the stipulated time, check to see if it's done roughly every 15-minutes, or less time in between, if it looks to be almost done. Cheesecakes typically take an hour to 1 hour 15 minutes to bake, depending on the recipe.
- After sitting in a turned-off oven for an hour, remove the cheesecake from the oven, and allow it to sit in the pan. Cool completely to room temperature.
- It is natural for cheesecakes to shrink a little as they cool. This may take anywhere between 4 to 6 hours, or longer.
- Once it has cooled completely, run a knife around the sides of the cheesecake. Wrap and seal the entire cake, still in the pan, with several layers of cling film, and in a sealed plastic bag, and chill in the refrigerator for at least 12 to 24 hours, to allow it to firm up and for the flavours to come together.
Nutrition Information:
Serving: 1serving, Calories: 835kcal, Carbohydrates: 73g, Protein: 10g, Fat: 58g, Saturated Fat: 30g, Trans Fat: 1g, Cholesterol: 177mg, Sodium: 634mg, Potassium: 306mg, Fiber: 2g, Sugar: 50g, Vitamin A: 1653IU, Vitamin C: 1mg, Calcium: 123mg, Iron: 7mg
Did you make this recipe? Be sure to leave a rating and a review in the section below, and tag @foodelicacy on Instagram and hashtag it #foodelicacy so I can see!
