Homemade Pineapple Jam for Tarts, Pies & So Much More!
This is the best homemade pineapple jam! Perfect for making pineapple tarts and pies, as well as a spread on toast, biscuits and scones. All you need are 3 ingredients and 3 spices!
Every year, making pineapple jam is something of a ritual in the weeks leading up to the Lunar New Year.
That’s because pineapple jam is the delicious filling that goes into making pineapple tarts, a festive treat that traditionally signifies and symbolises good fortune and wealth.

In our home, pineapple tarts are a must-have goodie to offer family, friends and relations during the festivities.
It’s very easy to make your own pineapple jam, and extremely satisfying too. And if you ask me, nothing beats the exquisite flavour, aroma and texture of home-cooked pineapple jam.
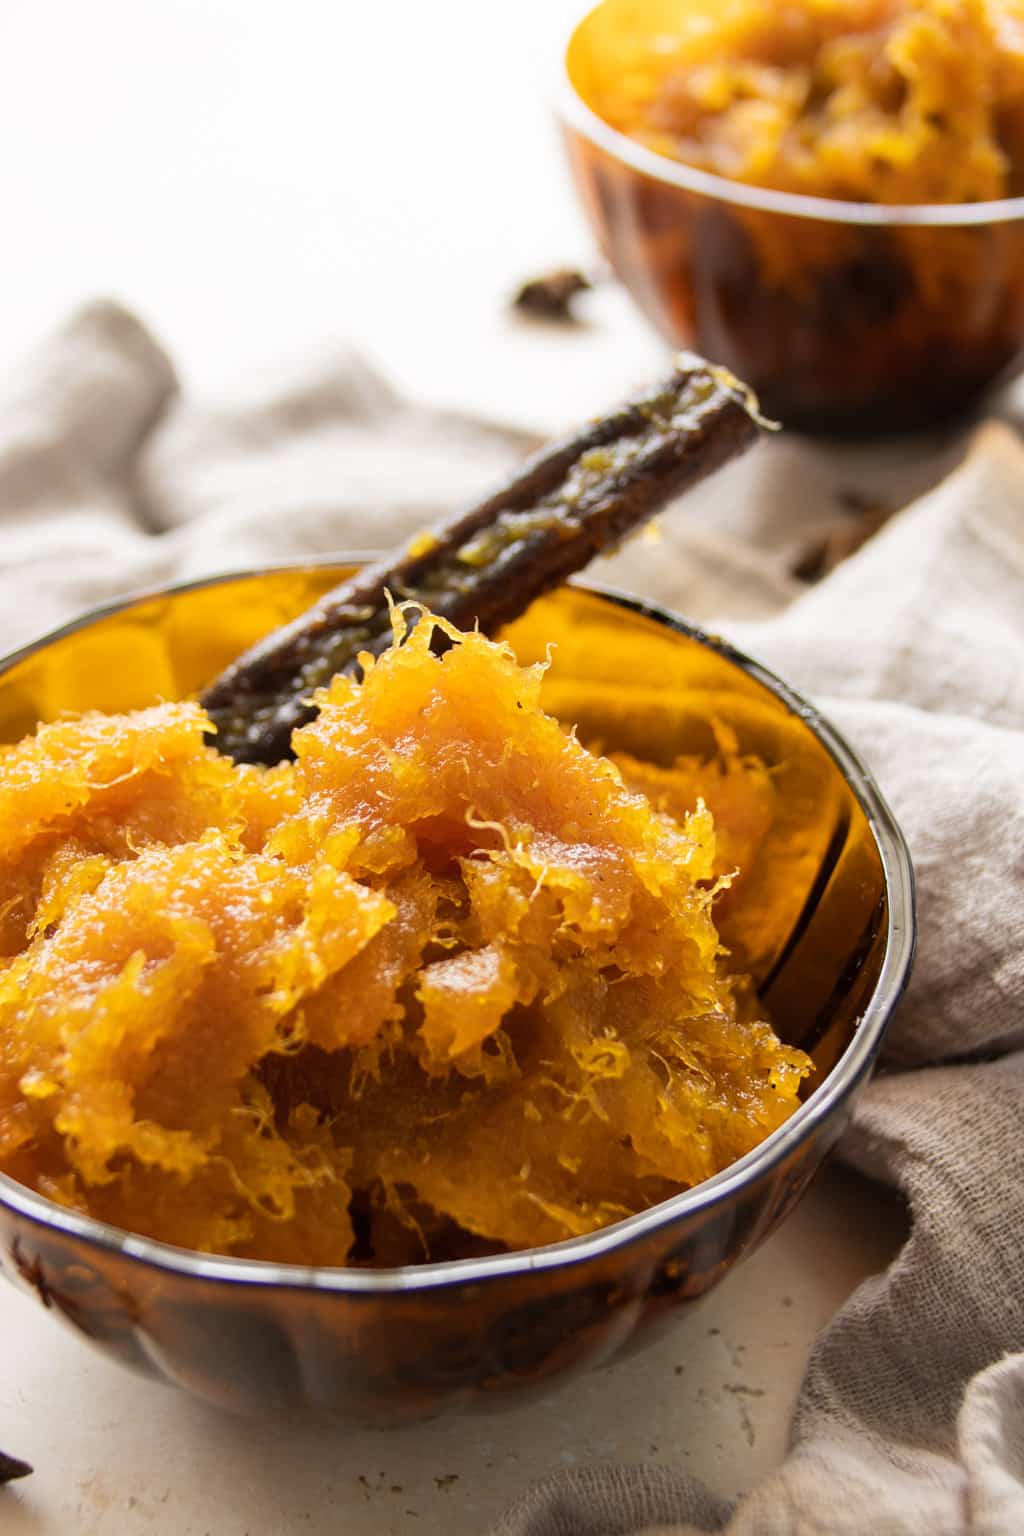
When you make pineapple jam with the fruit of fresh pineapples, the cooked jam tastes rich, smells fragrant, and is gorgeously caramelised to a glossy, deep amber hue! It’s taste is superby flavourful and authentic.

Save for Later:Homemade Pineapple Jam
Pin this on PinterestAbout this pineapple jam recipe
This recipe uses only 4 ingredients and 3 whole spices.
- fresh pineapples
- rock sugar (or regular sugar) to sweeten
- salt to balance the sweetness
- whole spices, namely cinnamon, cloves and star anise, to infuse warmth and flavour.
- vanilla extract (optional), to enrich the taste.
Step-by-step: How to make pineapple jam
Here’s how easy it is to make fresh pineapple jam in 3 steps:
- Cut fresh pineapples
- Grate pineapple flesh (or to save time, process in a blender or food processor)
- Cook pineapple jam
Step 1. Cut fresh pineapples
- Cut off the crown and base of each pineapple. Slice off the skin and cut out the eye spots. If you’re not sure how to cut a pineapple, here’s a useful post that takes you through it, step by step. Then, slice each whole into two halves.
- If you’re going to use a blender or food processor, cut away the tough, fibrous core of the pineapple. Cut the flesh into small chunks or sections for easy blitzing.


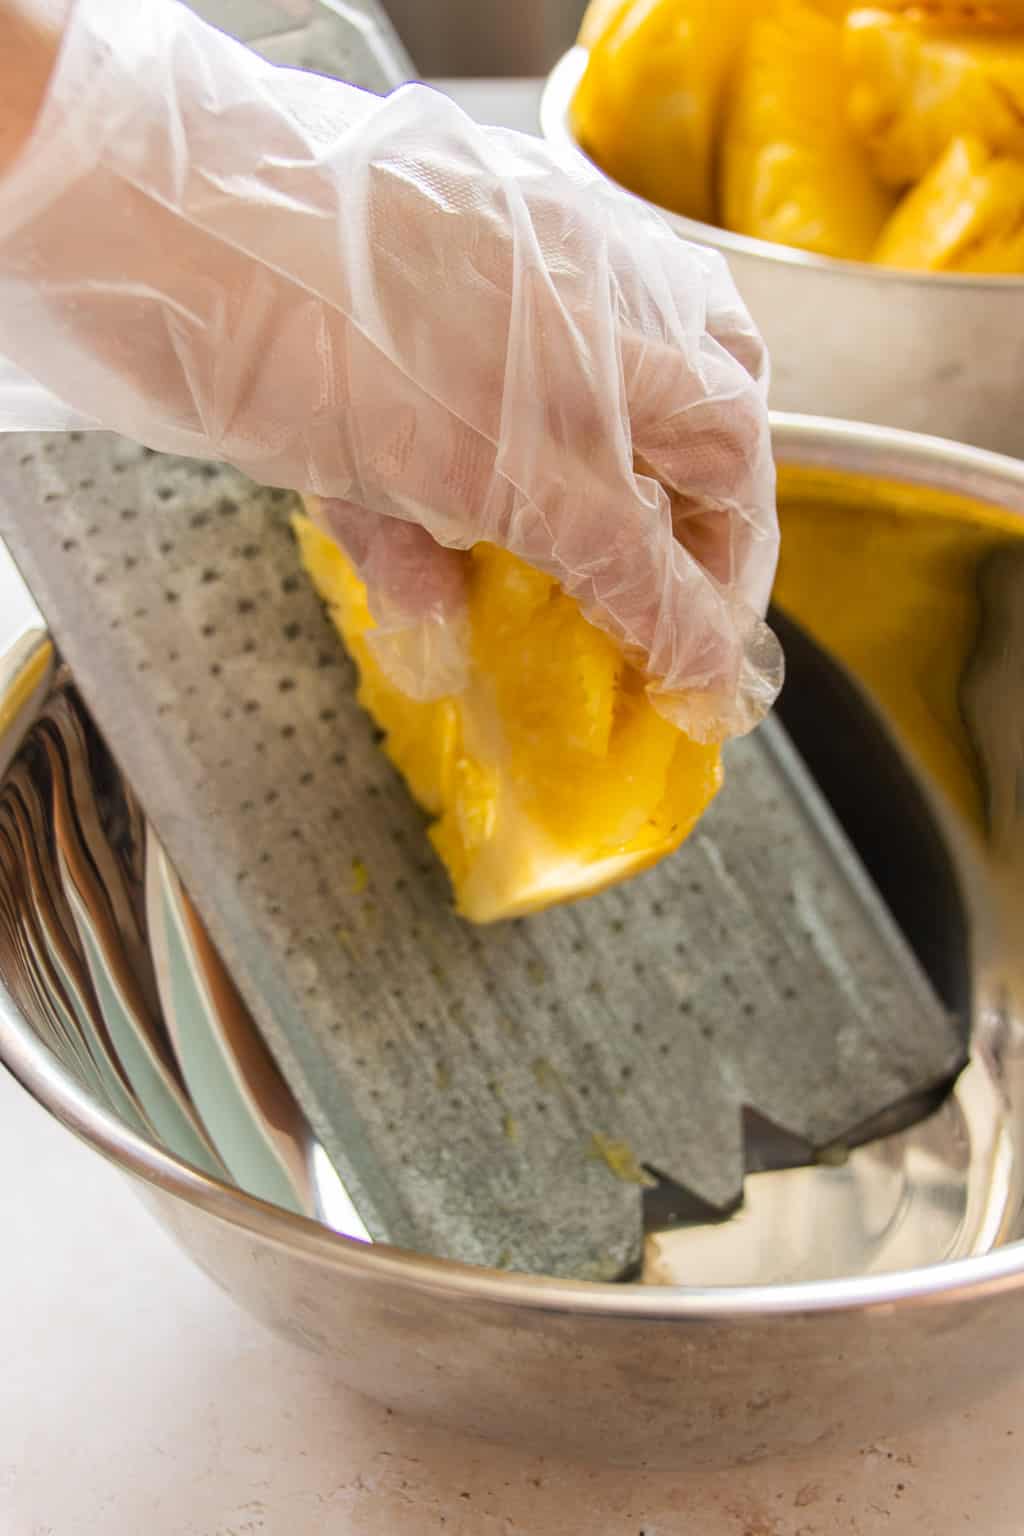
Step 2. Grate/blend the pineapples
- Grate the flesh of each pineapple half, just until you get to the tougher, fibrous core. Discard the core. If using a blender, blitz the cut pineapple chunks (remember to cut away the tough, fibrous core) until mushy, about 10 seconds.

Step 3. Cook the pineapple jam
- Cooking the jam from start to end can take up to 3.5 hours, depending on the amount of juices, size of pan, and heat applied. Use a non-stick pan, preferably, with a wide diameter. The wide surface area will allow the liquids to evaporate more quickly.
- Bring the grated pineapple flesh with all its juices to a gentle boil over medium heat. Add the whole spices, and let simmer for 2 to 2.5 hours. Stir occasionally, especially at the bottom of the pan.
- When the juices have reduced by a third, stir in about ⅔ of the rock sugar. Once the sugar has melted, taste the jam, and add more sugar as desired. You don’t want the jam to be too tart, it should be pleasantly sweet and tangy.


- As the juices reduce further, the mixture gets more paste-like. It will become darker, thicker, stickier and glossier the longer it cooks. This is due to the residual sugars from the fruit, as well as the added sugars, caramelising. Lower the heat, and stir the paste around in the pan more frequently.
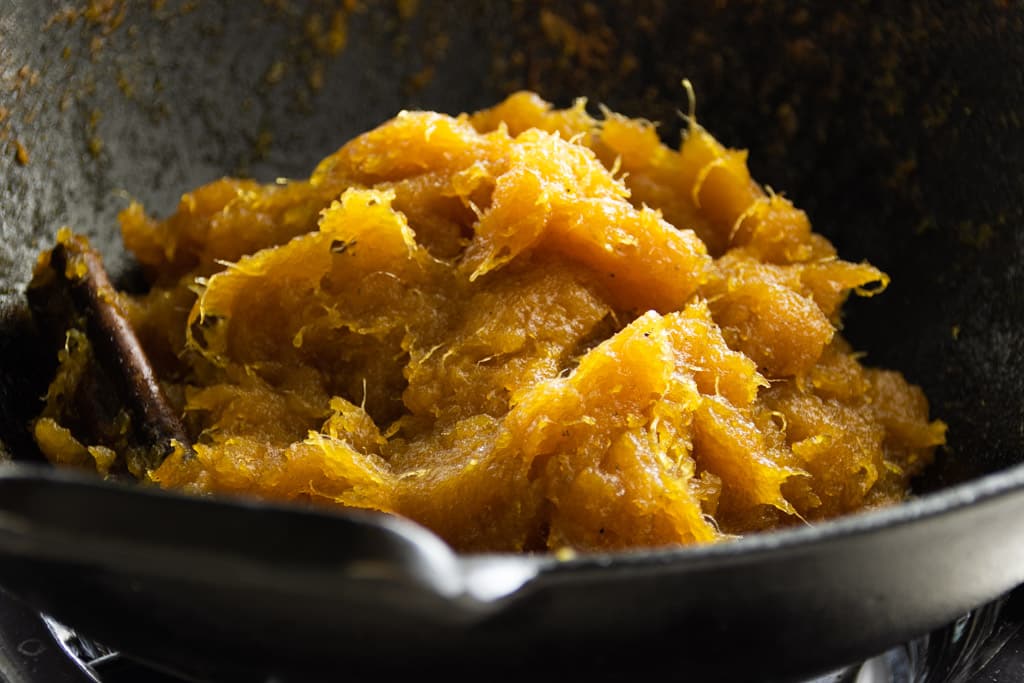
- Reduce until the jam is very thick and dry to the point where you can’t see any liquids or syrup at the bottom of the pan. You should also start to see lots of pineapple ‘hairs’, i.e. the fibers sticking out. The key is to get the pineapple jam dry enough, but still moist to the touch.
- When done cooking, dish out into a bowl and let the jam cool completely to room temperature. Remove the whole spices, seal the bowl with clingwrap and chill the jam. Alternatively, you can store in air-tight, sealed glass jars and refrigerate.
Tips for cooking pineapple jam
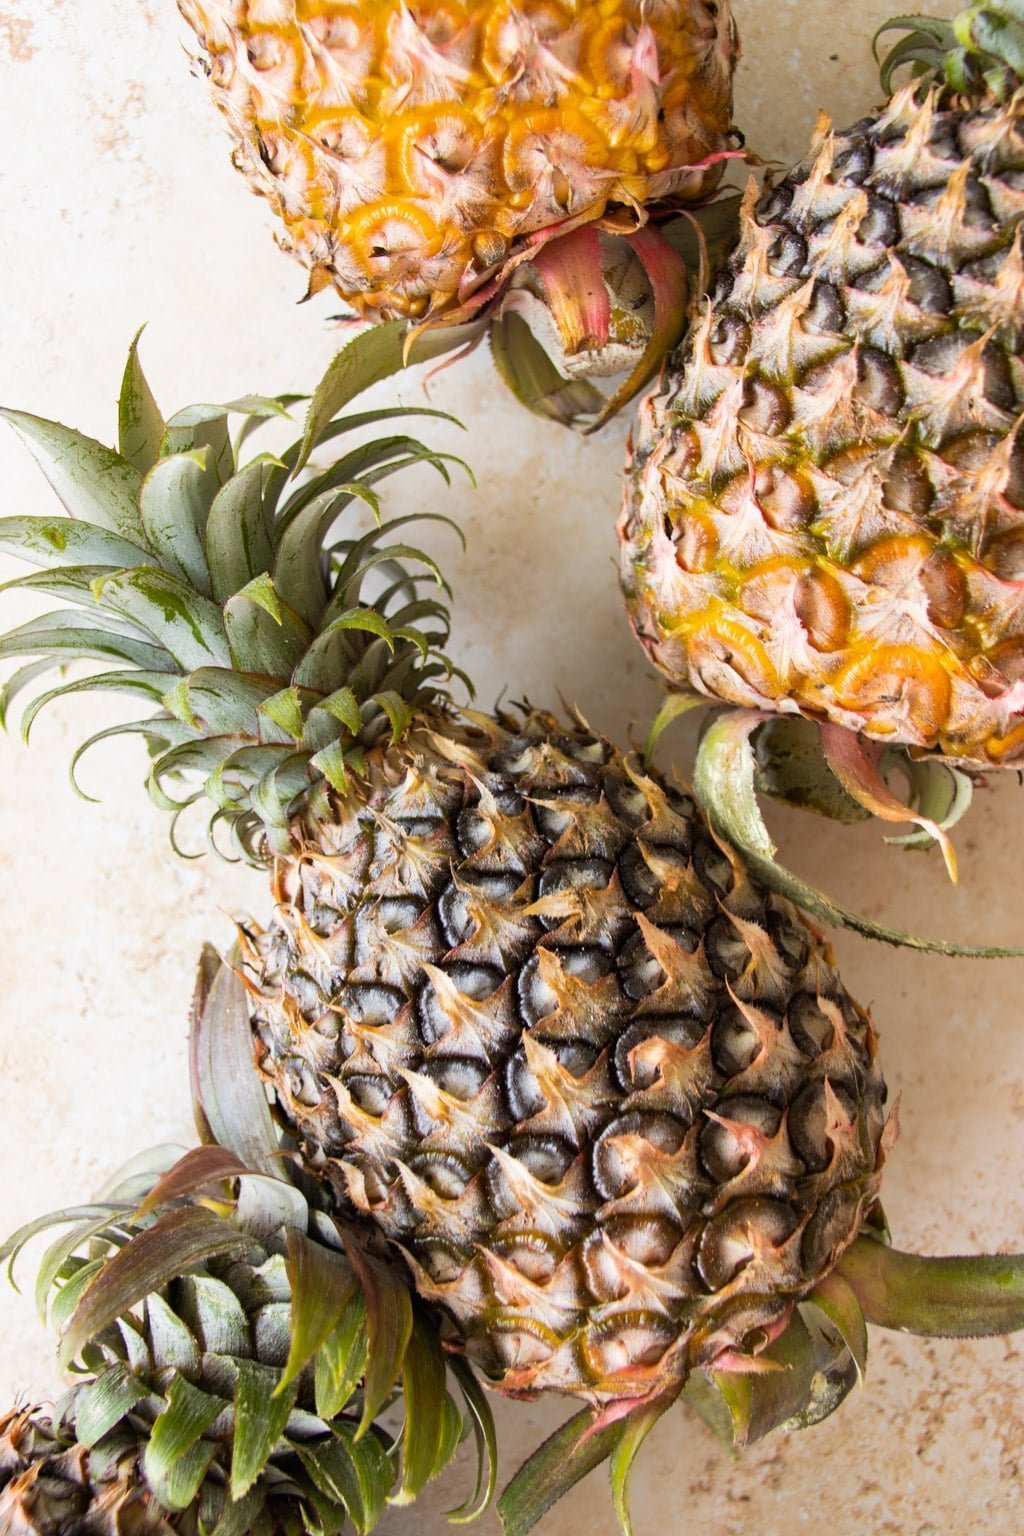
Choosing fresh pineapples
- When choosing fresh pineapples to make pineapple jam, ideally, you’ll want to get pineapples that are just beginning to ripen. These will feel heavy and their skins will have started to yellow a bit, especially around the base.
- Avoid overly ripe or unripe ones. Overripe ones will be too sweet, and have a very high water content. Unripe ones will be too sour, and may actually be toxic to consume. A mix of ripe and slightly under-ripe pineapples is ideal. But it goes without saying that it’s far better to choose ripe than unripe ones, anytime.
Sugars used and when to add sugar
- Sugar is added in the later stages of cooking. Adding too early will cause the jam to darken considerably as it caramelises (browns) more as it cooks.
- Chinese rock sugar is preferred because it has a mild sweetness. You can use regular sugar or raw sugar, but you’ll probably need less. Taste, and adjust as desired.
How dry or moist is cooked pineapple jam
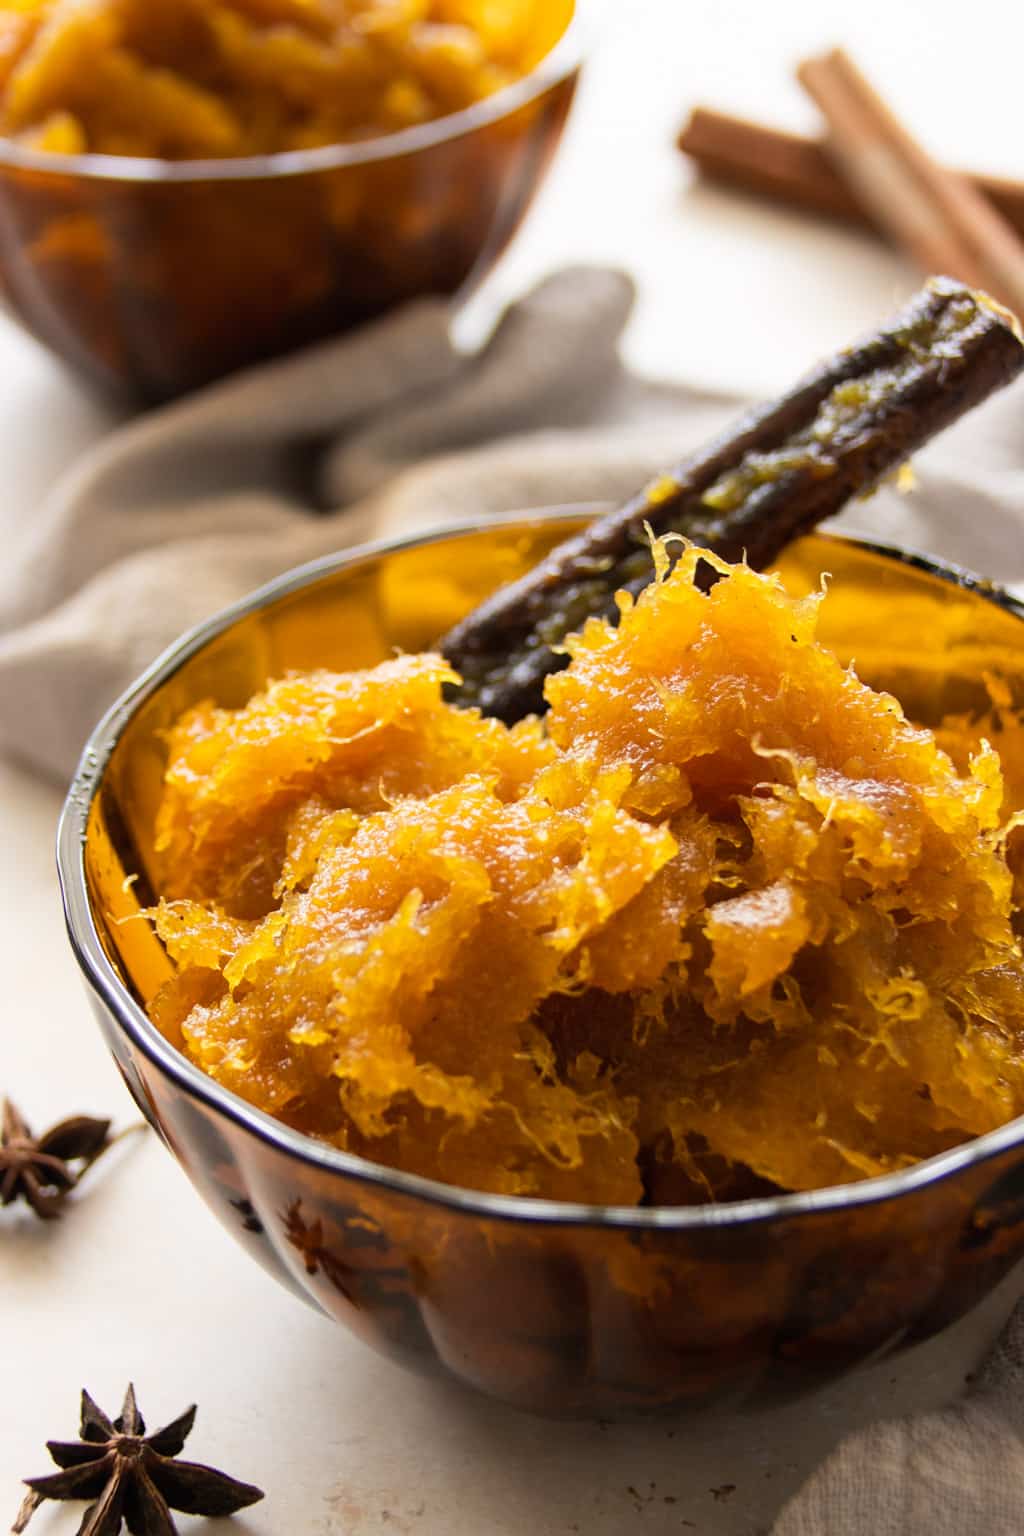
- If you are going to use this as a filling to make pineapple tarts, the jam needs to be cooked until fairly dry but still moist, as you see here. Chill the jam in a bowl sealed with clingwrap, overnight. If you see syrup pooling at the bottom of the bowl, re-cook the jam in a pan over low heat to dry it a little bit more.

- This jam is deliberately cooked to a drier, thicker paste as it’s intended as a tart filling. If you prefer to have it as a jam spread, you can cook and reduce the pineapple jam to a spreadable consistency. Please note that, like most fruit jams, pineapple jam will thicken slightly when cooled.
- If the jam was cooked too dry, do not try to moisten by adding water. This will not help the jam to keep well, especially when enclosed as a filling in tarts. Cut another fresh pineapple, grate or blend, and cook with some sugar. Then mix in the previously cooked jam, and re-moisten to the desired moistness.
- If the jam is too wet, cook it again over low heat until dry and just moist. However, if you are making open-faced pineapple tarts, it’s preferable to have a slightly moist jam because the jam will dry a bit during baking.
How to store pineapple jam
- Cooked pineapple jam will keep well in the chiller, if handled with care and without cross-contamination, for up to 3 weeks. It is best stored in a glass jar with an air-tight, sealed lid.
- Homemade pineapple jam is also freezer-friendly. Just as with chilling, store in an air-tight glass jar or container, and freeze for up to 1 year.

Here are more treats you might enjoy:
Tried this recipe? I’d love to see! Share your bakes on Instagram and tag @foodelicacy or #foodelicacy.

Homemade Pineapple Jam
Ingredients
- 6 medium pineapples slightly ripe
- 225 – 275 g rock sugar you may need more or less, depending on sweetness/ tartness of pineapples
- 1 cinnamon bark
- 3 cloves
- 3 star anise segments
- ¼ tsp salt or to taste
- 1 tsp vanilla extract (optional)
Instructions
Cut the pineapples:
- Wash the pineapples. Cut away the skin and eye spots. Slice in half. If using a blender, cut away the tough, fibrous core and slice the fruit into smaller chunks.
- Grate each pineapple until you reach the tough, fibrous core. Discard the core. (Note: It’s a good ideal to wear hand gloves if grating by hand. due to the acidity of the juices). If using a blender, blitz pineapple chunks until mushy, about 10 seconds.
- Pour the grated pineapples with juices into a large pan. Heat up over medium heat.
- When the juices come to a boil, stir in the cinnamon bark, cloves and star anise segments. Let simmer for 2 to 2.5 hours, stirring occasionally around the edges and the bottom.
- When the mixture has reduced by half, stir in ⅔ of the rock sugar. Once dissolved, taste the jam, and add more sugar as desired. You don’t want the jam to be too tart, it should be pleasantly sweet and tangy.
- As the mixture gets drier and thicker, reduce the heat. Stir frequently to prevent burning. Add salt and vanilla extract (optional) last.
- Reduce until the jam is very thick and dry to the point where you can’t see any liquids or syrup at the bottom of the pan. You should also start to see lots of pineapple ‘hairs’, i.e. the fibers sticking out. The key is to get the pineapple jam dry enough, but still moist to the touch.
- Dish out into a bowl and let cool completely to room temperature. Remove the spices, cover with clingwrap and chill. Or, store in sealed glass jars and refrigerate. The jam will keep in the chiller, if handled well, for up to 3 weeks.
